Skip to Content

Blog Archives

Spring/Summer Hair Trends for 2019

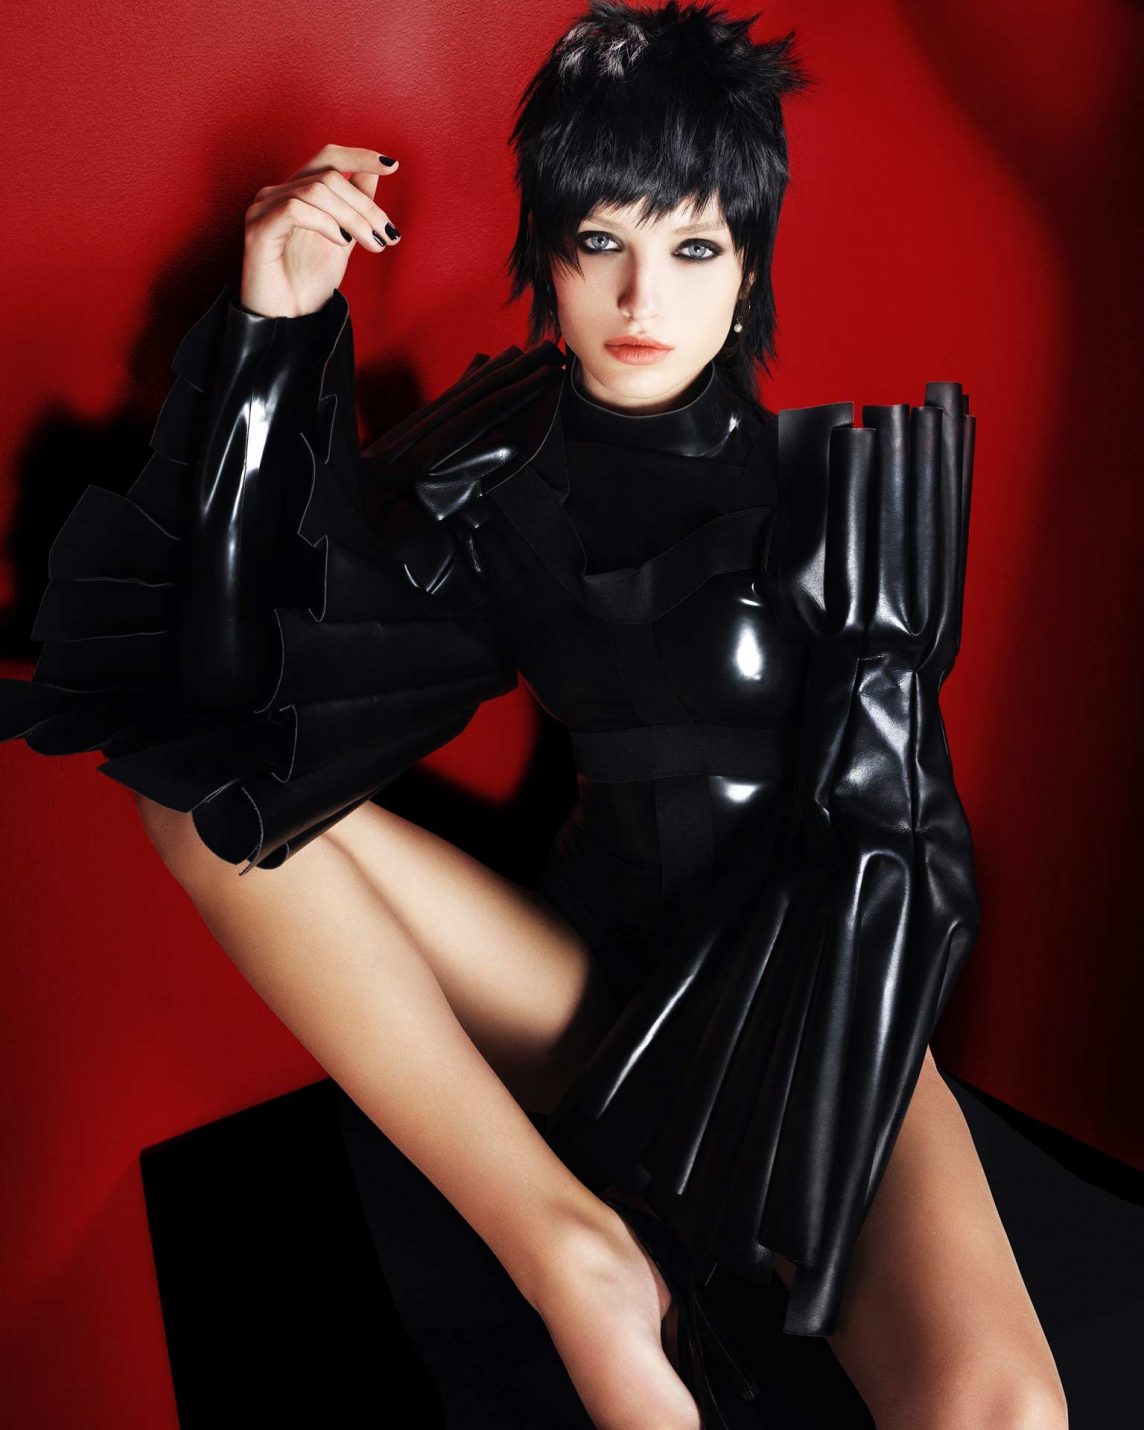
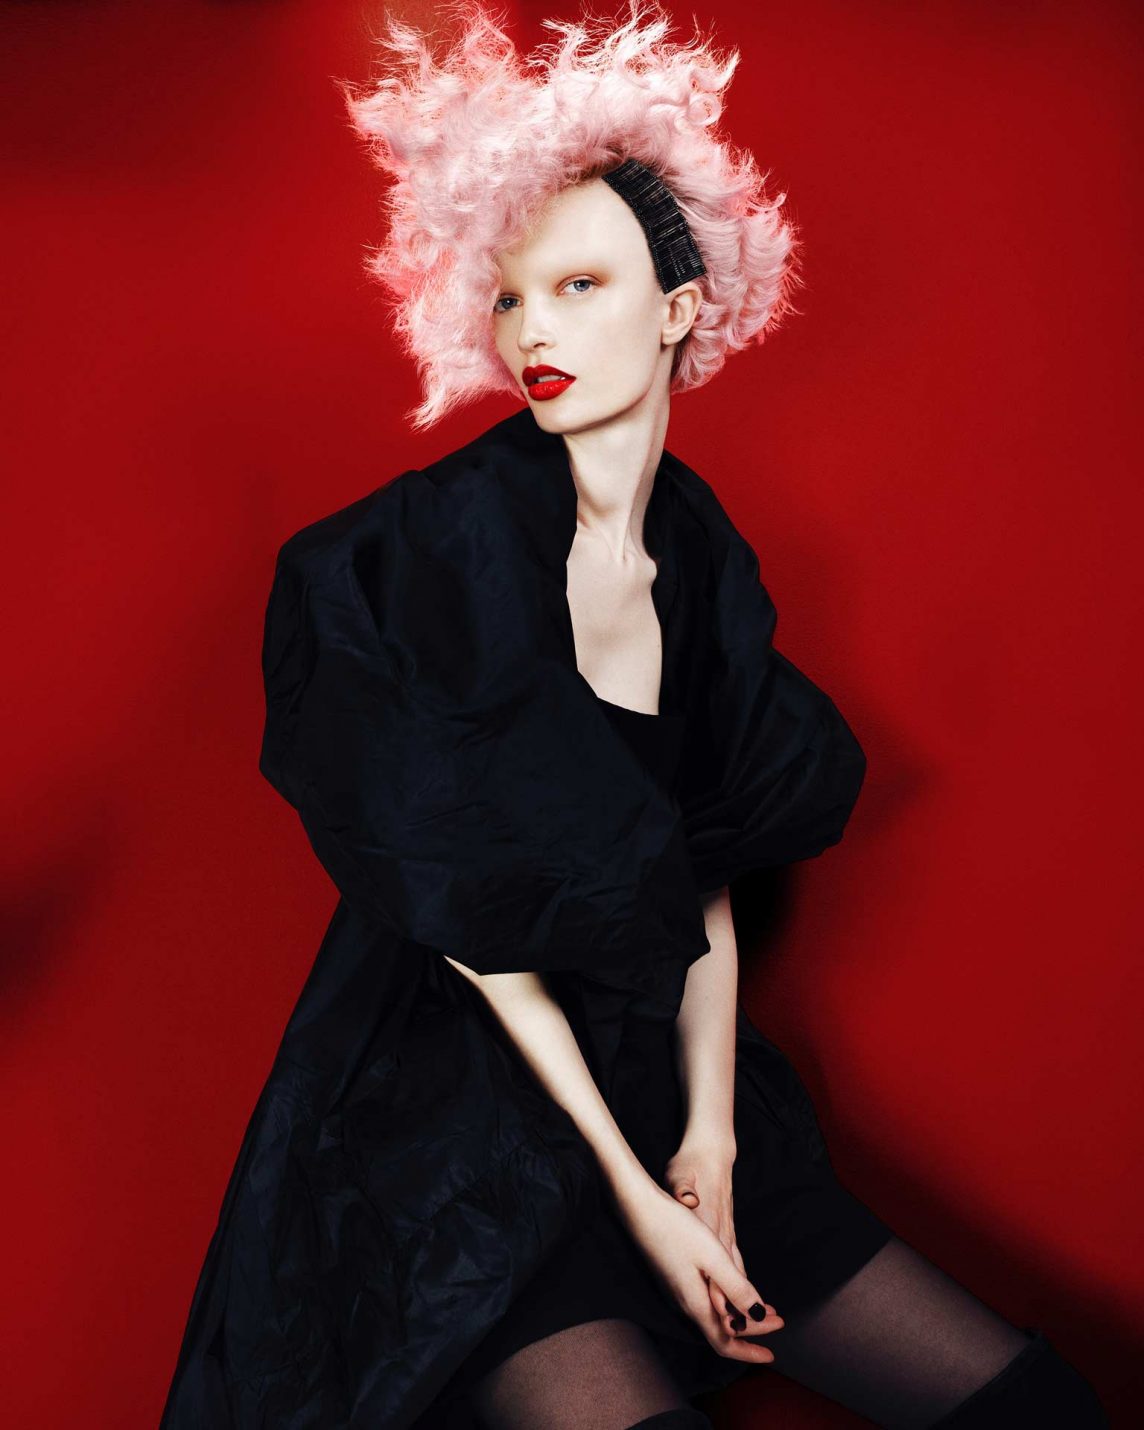
While spring might seem a little way off, now is the perfect time to start thinking about updating your style for the year ahead. Many of us start to feel that all familiar itch around this time of year, longing for a change from winter. A great way to inject a little freshness into the winter months is with a new cut or colour. With this in mind, here are the spring/summer hair trends for 2019 that we are loving…

The Blunt Bob

Angular hair is at the top of our lust list for 2019, with blunt bobs making a big comeback. Blunt cuts can suit all face shapes, because the length of the cut can be adjusted to suit each individual, while blunt edges can help fine hair look thicker, or thick hair look softer, depending on how the hair is styled.

If you’re considering going shorter and embracing the blunt bob this year, start slow. While it can be tempting to dive in head first, consider a cut a few inches longer than you might like to start, to check you’re happy with your shorter locks before taking the plunge.

Charcoal Tones

Grey has been big in hair colour for some time now, which is great news for anyone that’s naturally going grey. This year it’s all about smokey ashy greys, which can be used in blonde hair or hair that’s naturally grey. This stunning cool shade has a creaminess to it, making it really soft and pretty.

Super Straight

The super straight styles of the ‘90s are back. For a long time now, we’ve been embracing the natural look of soft curls and waves, but 2019 is all about a more structured look. Layers will be less important in cuts this year, with straight hair all one length being the stand out style. This means investing in a pair of GHDs, and a trip to the hairdresser to tidy up any wispy ends, or to level the length out.

Undone Topknots

Chanel’s 2018 ready-to-wear catwalk saw models supporting undone topknots, that appeared to have been styled within minutes and with little in the way of product. This is every woman’s dream that finds herself short of time in the morning, because the undone topknot is the updo of choice for the year ahead. To achieve this style, tie your hair into a ponytail before twisting into a bun. Let the ends remain loose and a little messy, if needs be you can quickly tease a few strands out to perfect the look.
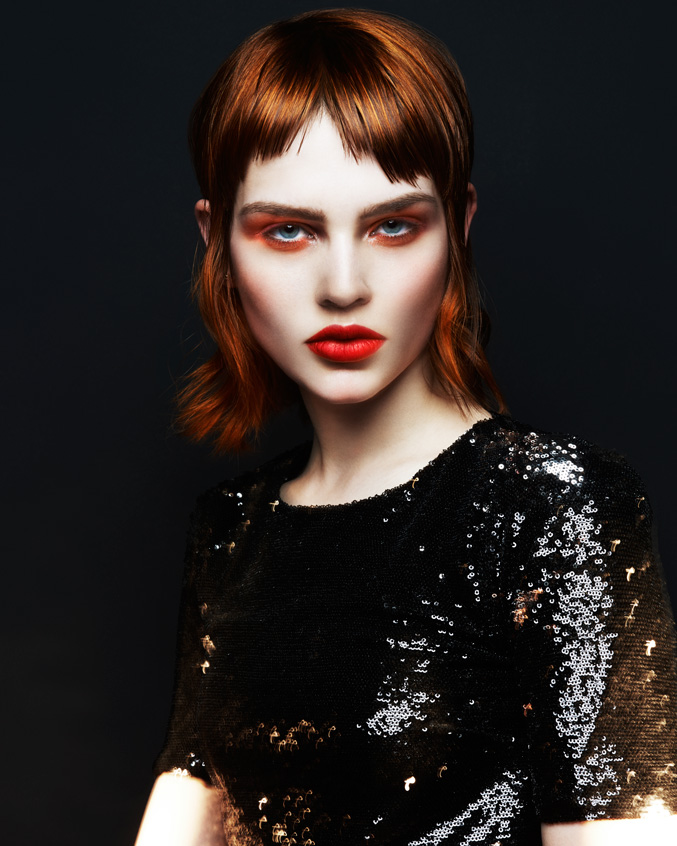
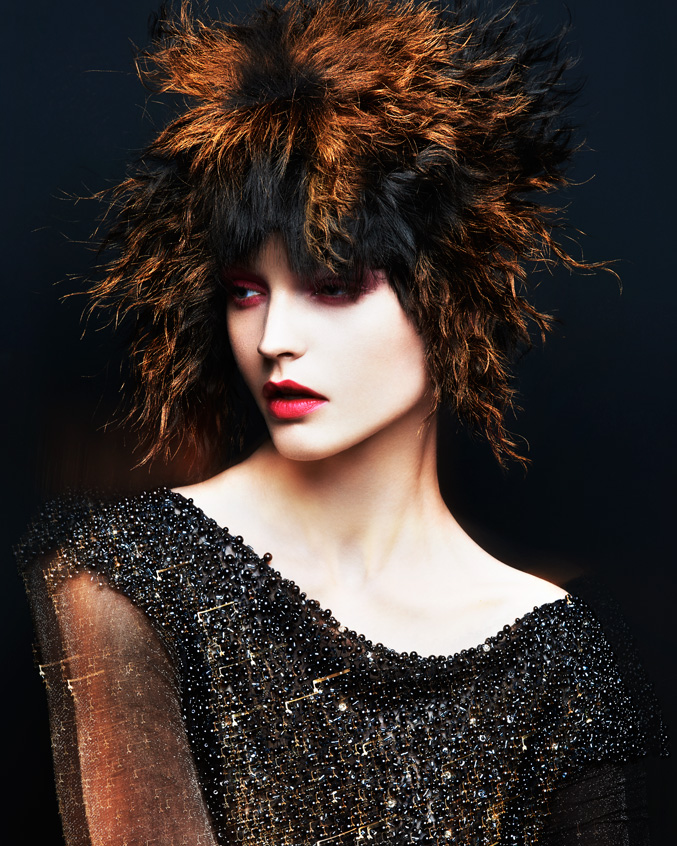
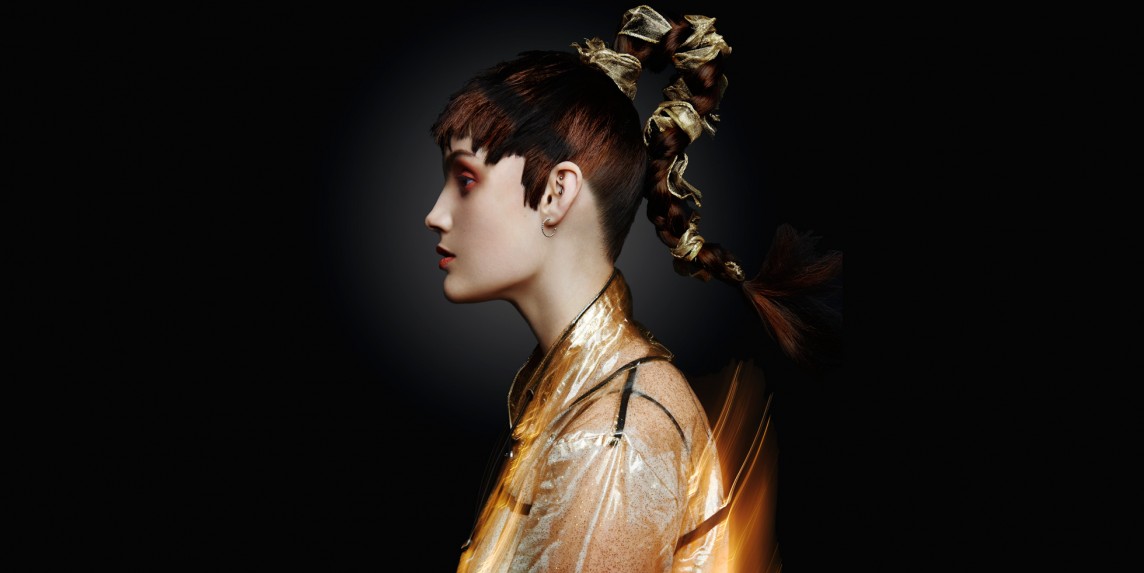
Copper Velvet

Burnt orange, rust and terracotta are everywhere at the moment. From fashion and interiors, and now even hair. Copper is a reddish-brown shade, but copper velvet provides a stunning update with a beautiful multi-tonal finish. This is a complex colour, and so needs a professional touch to get right, but it can look really striking and yet still appears to be natural when done well.

If you’re ready to update your cut or colour, pop in and see us to discuss your ideas and what you want to achieve. Sometimes a new look is just what you need.

0 0 Continue Reading →

How to Create Natural Waves

Naturally looking wavy hair is one of the most sought after looks around the world. Waves seem to always be on trend, and it’s this relaxed ‘I woke up like this’ vibe that we all want to achieve. Waves look soft, pretty and feminine, without being over done or too styled. Wavy locks are a go to for many occasions – from festivals and summer holidays, to bridal looks and everyday style – waves continue to be in high demand.

Night Time Buns

No time in the morning to style your hair? Try this simple way to create natural waves, without the addition of heat damage. Just before bed, part your hair and split into two sections. Twist each section into a tight bun and secure with grips. Use a spray bottle to spritz each bun to make the hair damp. Leave in over night to create natural looking waves. In the morning simply unravel each side. You might need to tease the hair into place here and there, and back brush a little to create volume, but you’ll only need five minutes in the morning and you’ll be good to go.

Mermaid Worthy Waves

Creating waves with your straighteners is easier than you might think. Our tool of choice is the GHD IV Styler Hair Straightener, as it’s the perfect size to create mermaid style waves. In addition, who doesn’t love having a tool that you can create multiple looks with?

To create waves with your straighteners, section off the top three quarters of your hair and secure with a band so that it’s out of the way. With the hair that’s left down, take a section at a time around one inch wide and place your straighteners at the top. Move them down the length of the hair curling in and out, in and out as you go. You can make your waves as tight or as lose as you want. Work your way around all of the hair that is down, then take down another quarter section of your hair and continue until you’ve done it all.

Back brush the roots a little to avoid the hair being flat at the roots, spritz with hairspray and you’re done.

Whether you want to create quick and easy waves without heat, or you want to go for a more precise look, creating waves at home is doable with these two methods.

0 0 Continue Reading →

Top 3 Beach Worthy Hairstyles

Beach hair can feel tricky to approach. You want to look and feel great on the beach this summer, but you don’t want to spend a lot of time styling your hair. In addition, you want to protect your hair from the salty sea water and the sun. The trick is finding the right balance – creating a style that you love but that is practical and speedy to achieve. Read on to discover our top three beach worthy hairstyles, for your summer break in 2018…

  1. Half Up Braids

Keep your hair out of your face and off your forehead with this half up-do. The whimsical festival feel makes it perfect for a day at the beach. Simply section off the hair, taking two 2-inch wide sections at the front of the head. Begin to plait backwards, picking up a little more hair as you go to create french braids. Do this on either side, and secure at the back of the head with grips. Ready to go for a swim? Simply pop your hair that’s left down into a bun to protect your hair from the salt water.

  1. Half up Bun

This is another great style that will keep your hair off your face in the hot weather, as well as looking stylish. Split your hair into two, picking up the top half and leaving the underneath down. It’s best to section your hair off from the top of your ears, creating a line from your ears to the back of the top of your head, in an upwards motion. Use a comb to brush the top half of your hair back so that it’s neat, then twist into a bun at the top of the back of your head. Secure with grips and tease a few strands out to create a chilled out beach vibe.

  1. Side Swoop Braid

Keep your hair off the back of your neck and off one side too, with this beach-worthy braid style. This is ideal if you want to keep your hair neat, but don’t want to go for a full up do such as a ponytail or a bun. It’s also ideal if you’re going out in the evening and want to create beachy waves the natural way. Simply leave your braid in all day and sprizt until damp, leave to dry in the sun and take out in the evening for natural waves.

To style start by parting the hair on one side. At the front of your head, take a section about two inches wide and start to braid the side that has the most hair on. Sweep the hair from the other side and the back of the head round the back and onto the side you are braiding. As you go, start to add in more sections of hair from the back. This doesn’t have to be neat and precise, this is all about creating a laid back look. As you reach the length of your hair, you should now have all of your hair in the braid. Secure with a band, then take a section of hair and wrap round the band to conceal.

Beach-worthy hair doesn’t have to be a headache. Create stylish hair that’s practical too, with these three styles.

0 0 Continue Reading →

How to Find your Perfect Hair Length

Many of us have a pretty good idea of what suits us, or the length in which we most like our hair. Choosing a flattering length and shape for your hair is key to feeling and looking your best everyday, but some of you might actually be supporting the completely wrong hair length for your features. If you’re thinking about trying a new style, or you simply want to find your most flattering hair length, read on…

Consider your Face Shape

While there are various factors to think about to find your perfect hair length, one of the biggest elements is your face shape. It is important to create balance to your overall appearance, and balance can be enhanced, just like imbalance can be emphasized through the shape and length of your hair….

– Long face: if you have a long and narrow shaped face, avoid long hair. Going for length will simply drag your face down, making it appear even longer. Instead, try a bob that sits just short of your chin to create better balance.

– Round face: If you have a round face, opting for longer styles will help to make your face look more balanced and oval in shape. Long length and a side swept fringe can help to slim your face and make it look more contoured.

– Square face: Try waves or curls in mid lengths to soften a square face. Shoulder length hair or a little longer is perfect for those with a square face.

Heart shaped: Long hair is great for a heart shaped face. Avoid blunt edges though, particularly in shorter cuts, and stay away from bobs.

Oval face: An oval face shape is considered to be balanced already. If you have an oval face you are lucky as you can try out almost any length.

Consider Texture

The type and texture of your hair matters when it comes to length too. If your hair is pretty normal – i.e. not particularly thick or thin, not coarse or frizzy, you can get away with most hair lengths.

– Fine hair: When hair that is on the fine side gets long it can end up looking limp. The longer it gets, the heavier it will be, and so the more it will drag itself down. Shorter haircuts can create more body and volume. If your face shape requires a longer cut but you have fine hair, consider going for a length just a few inches under the shoulders, with lots of layers.

– Thick hair: Those with thicker hair might find that their hair is unmanageable in shorter styles. Thick hair is often coarse and frizzy, which results in a mind of its own in short styles. Try growing it long to add weight and tame it. As your hair gets longer, it will naturally sit smoother and be easier to manage.

Finding the perfect hair length means achieving balance, and both your face shape and your hair type matters here. If you’re not sure what’s best for your hair, book in for a consultation to receive professional advice.

0 0 Continue Reading →

Easy Summer Holiday Hair Styles

You’ve been looking forward to your summer holiday all through the winter. That chance to escape, relax and get some sun on your skin is exactly what you need. You want to look and feel great on your holiday, but you want to enjoy yourself, and worrying about your hair is the last thing that you need. Instead opt for flattering, stylish and chic hair styles, that are easy and quick to do, so that you can make the most of your summer escape…


The Low Pony


This is an ideal summer holiday style – low maintenance, easy to create and always stylish – the low pony is your go-to this summer. Think chic, smooth and simple. To create the look wash your hair in advance with a smoothing shampoo and conditioner. Part the hair in the middle and smooth back towards the base of your neck. Secure in a low pony with a band, then wrap a piece of hair around the band to hide. Finish of with a spritz of hairspray to smooth down any fly aways. This is the ideal style for humid and hot weather, as it’ll stay looking smooth all day.

The Falling Down Up-Do

This look is so easy to create as it requires little in the way of precision. It’s an undone up-do that allows you to get your hair up off of your neck for hot weather, but that still looks soft and pretty. Scoop your hair back into a simple chignon, placed just above the neck to help keep you cool. Then coax out a few strands around your face and ears to soften. Curl the strands if needed to create a pretty and natural finish.

The Double Bun

This playful look is ideal for a day on the beach – it keeps your hair neat, out of the way, and can even result in beachy curls if your hair gets wet and dries in the sun. Start by parting the hair in the middle and split the hair into low bunches. Secure with bands at the nape of the neck. Start on one side, twisting the hair until it starts to wrap up, wrap into a neat bun and secure with grips. Repeat on the other side.

Whether you’re jetting off on a beach holiday, to a festival or for a family adventure in the sun, try these easy hairstyles to help keep you cool, but looking stylish all day long.

0 0 Continue Reading →

How to Choose the Perfect Hair Colour for your Skin Tone

Hair colour is a little more complex than you might realise. Over the years, if you’ve experimented with changing your colour, you might have found some shades were a great success, while others just didn’t have quite the same impact. This is because hair colour and skin tone are both very precise, meaning while some hair colours look great on some people, on others they are unflattering.

We are always happy to advise through consultation in regards to the best hair colour for your skin tone. For now though, read on to get an idea of the kind of colours you can pull off, and which to avoid…

Cool Blonde

Cool blonde or ‘ice blonde’ is ideal for those with pale skin tones. If you have very fair skin, with rosey warm undertones cool blonde is an ideal colour choice. If you have blue, grey or green eyes and fair skin, try and ash blonde.

Warm Blonde

Including caramel, gold, honey, butterscotch and amber, warm blonde is best suited to those with olive skin tones, or fair skin with cooler undertones. Lighter ashy blonde shades can wash out an olive skin tone. If you want to go lighter, try a caramel blonde rather than a cool blonde.

Cool Red

This shade includes dark auburn and burgundy. It may not sound quite right, but red is very flattering for those with red tones in their skin. Opting for a red shade will make your skin look glowy, rather than trying to fight against it. If you have a warm and fair complexion, try a cool red to make your skin glow.

Warm Red

Think copper, strawberry blonde, amber and rust. Warm reds are very flattering on fair and neutral skin tones. Try mixing a cool and warm red to create a creamy shade that’s warm and soft, but with a hint of golden tones too. If you have a cool skin tone, you could also try warm reds to counteract the blue tones in your skin.

Cool Brown

Cool brown tones include mocha, dark chocolate, dark auburn and chestnut. Cooler brown tones can look particularly striking on those with warm skin. Whether you have fair skin, medium or dark skin, cool brown is a great choice is you have a warm complexion.

Warm Brown

When it comes to warm brown, think cinnamon, caramel, golden brown, honey, amber and mahogany. If you have a medium skin tone, a warm brown is ideal as it will stop you looking washed out.

Warm Black

Think brown black or dark mocha. Add chocolatey tones to your black shade to warm it up, this is super flattering on cool-toned skin, and ideal for medium to dark skin tones.

Cool Black

Deep shades of coffee, blue-black and licorice are what you’re aiming for here. Opt for a cool black if your skin has warm or neutral undertones. Avoid this shade if you have fair, cool-toned skin.

If you’re interested in a colour change, book in for a consultation. It’s good to have some ideas before you visit us, but if you’re not sure which shade to go for, we can advise on what will be most flattering for your skin tone.

0 0 Continue Reading →

5 Bridal Hairstyles for 2018

Whether your on the hunt for the perfect hairstyle for your big day, or you’re looking for a style that will suit all of your bridesmaids, 2018 had provided some stunning new bridal hair trends.

Read on to discover five bridal hairstyles for 2018…

  1. Textured Low Updo

This is a 21st century update on the bridal updo. It’s unfussy, pretty and feminine, and will stay in place all day.  Think of a stylish combination of loose french braids and a simple chignon. At the front and the roots create soft and pretty volume, and soften the style by teasing a few strands of hair our around the face. Leave the look simple, or finish it with a vintage jeweled slide.

  1. The Undone Bun

The bun is still one of the most popular bridal styles, but it also works brilliant for bridesmaids too. Think soft and feminine, rather than neat and tight. Try a chignon at the base of the neck. The hair should be swept back from the forehead and twisted to create volume. This is the perfect whimsical updo – just finish by teasing a few pieces of hair out around the face and out of the chignon for a soft finish.

  1. Plaited Waves

When you have long hair, you want to show off your locks. Consider wearing your hair down for your big day, adding a fairytale finish with tiny braids. To create the look, part the hair in the middle and wear wavy and soft. Add a few small but lose plaits through out the hair. Try adding a few under the bulk or your hair, and a few on top to. This look shouldn’t look too styled or uniform.

  1. The Low Pony

This look is perfect for brides who prefer a sleeker but low maintenance look. Leave the length of the hair soft and a little fluffy, rather than smoothing it down. This can be achieved by adding soft waves to the hair. Sweep the hair back at the crown and keep the hair on the head smooth. Secure into a ponytail at the base of the neck, and wrap a strand of hair around to hide where you are secured the ponytail for a natural finish.

  1. The New Half Updo

Rather than opting to put up all of the top half of the hair, consider this softer approach. Take the hair on one side, starting about an inch back from the face. Split into two sections, leaving the bottom half of the hair free. Then twist or plait the upper section towards the back of the head, securing in the centre of the back of the head with pins. Wear the hair wavy and natural, and ensure the hair at the back covers the pins so that the braid naturally merges with the rest of the hair.

This year it’s all about romantic, soft and feminine bridal hair. Try a whimsical style, or opt for a sleeker version to suit your own unique style.

0 0 Continue Reading →

How to get Heatless Curls

Few of us are blessed with naturally perfect curls. For some curls are unruly and for others the hair is naturally straight or frizzy. Curls is the most sought after hairstyle, but regularly curling your hair using wands, tongs or straighteners will cause heat damage that could result in split ends, breakage, dry and unmanageable hair. If you prefer to wear your hair curly, but want to avoid using heat every day, how can you achieve fantastic curls without heat styling? Read on to find out…

  1. Lazy Curls

For those who want heatless curls without a lot of fuss, this is perfect for you. Start by tying the hair back into a high ponytail, then take a section of the ponytail that’s about an inch wide and spray with water until damp. Wrap this section around two fingers, starting at the ends of the hair and ending at the top of the ponytail, then slide your fingers out and clip the curl to your head to secure. Take a second section, but this time use one finger to wrap around before pinning the curl. Work your way through your pony tail, alternating from one finger curls to two finger curls.

When you’ve done all your hair, spritz it with hairspray, then leave to dry. It should take around 30 minutes to an hour to dry, once dry remove the clips and then remove the hair band used to secure the ponytail. Shake your hair out to breakup the curls, then spritz with hairspray to hold.

  1. Wonderful Waves

If you prefer a wavy and natural look instead of a curled look, try this to create heatless waves that will stay put all day. Split your hair into two sections and bring your hair forward over your shoulders. Take the right section to start with, and take a small section of hair (around 1-2inches) from the neck, clip the rest of the hair back and out of the way. Spray the section with water until damp. Wrap the section of around around two fingers from the ends up to the roots. Take your fingers out and continue rolling up and then clip to your head to set. Take another section and do the same thing, keep going until you’ve done the entire left side of your head.

Now repeat on the right side. Once all of your hair has been rolled and clipped up spritz with hairspray. You can do this first thing in the morning and wait for the waves to dry while you do your make-up or have your breakfast, your hair should be dry enough to take down within 30 minutes. Take the waves down and shake them out a little. Take a little hair wax and rub it between your palms and scrunch your waves to help sculpt them and make them last longer.

Heatless curls and waves really are achievable. If you currently curl your hair using heat, try swapping your heated style for heatless at least a few days a week to help the condition of your hair.

0 0 Continue Reading →

How to get Silky Shiny Hair

One of the most sought after things is silky glossy hair that looks effortlessly healthy and strong. The truth is really shiny hair isn’t just about treatment and styling, it’s also about the health of your hair, your diet and hydration too. Here’s how to achieve silky shiny hair, that looks beautiful but is also strong and healthy too…

  1. Stay hydrated and nourished

Our skin and our hair start to suffer when we are dehydrated, causing both to become dry and dull. If you haven’t over processed your hair with heat styling or dying, yet it looks dry and flat it may be down to hydration. Try and drink 2 litres of water a day to provide your body with the water it needs, you’ll soon start to see an effect on your skin and hair, as well as your energy levels too.

Your diet can also determine how glossy your hair is. Try adding an extra portion of fruit and veg to your daily diet, and take fish oil supplements to give hair a natural boost.

  1. Cold water blast

When you wash your hair, try blasting it with cold water for 30 seconds at the end. The cold water will seal the cuticle making hair look glossier all over. If it’s super shine that you’re after, use a shampoo and conditioner that inject moisture and smooth all over. Try to go for quality brands and avoid using harsh chemicals on your hair as this will only cause it to become dry, which is the opposite of what you are trying to achieve!

  1. Wear it straight

Straight hair looks glossier as it reflects the light better, so if shiny is what you are after go for a straight finish. After washing and blasting with cold water, follow a similar method for drying your hair. Rough dry to start with, then using a paddle brush blow dry straight. Once hair is dry finish off with a three minute blast on the cool setting of your hairdryer to add extra shine.

  1. Use a serum

Serums are a great way to add an extra hit of shine to your hair. Try a 2-in-1 serum that also offers heat protection to avoid split ends from heat styling. Argan oil, coconut oil and other serums that use natural ingredients are the best options when it comes to boosting gloss without applying harsh chemicals to the hair.

  1. Treat regularly

It’s almost impossible to achieve glossy hair if your hair isn’t in good condition, so it’s important to keep on top of things. Try to apply a treatment mask every 1-2 weeks to give your hair a boost of moisture and strength. Opt for all natural at home remedies or invest in masks from quality brands. Once every 3-4 months book in for a trim at the hairdressers to keep split ends at bay.

Just a few simple steps can ensure your hair is strong, glossy and healthy, with a natural shine that is boosted with a few key products.

0 0 Continue Reading →

Halloween: 3 Party-worthy Hairstyles

With Halloween just around the corner, now is a better time than ever to start thinking about your Halloween party style. Whether you’re dressing up in fancy dress for the occasion or you’re simply heading out in style for dinner or drinks, Halloween is the perfect opportunity to experiment with a new look, and have fun with your style.

Read on to discover three party-worthy Halloween hairstyles…

Zombie Punk

Put a stylish twist on the classic zombie look with a punk inspired up-do. It can be tricky to work out how to be creative with a zombie style, to avoid looking like everyone else at the party or out in town. A zombie punk look is ideal for anyone who loves to look stylish, even when in fancy dress.

To create the look:

  1. Back brush the hair at the roots, starting from the crown and working forwards. You want to add lots of volume to the roots of the hair to nail this look. Use a little hairspray to hold.


  1. Use a comb to separate a section of hair, from the crown, parting the hair at the temples on both sides.


  1. Scoop the sectioned off hair back to pin into a quiff. As you pull the section back to the crown push it forwards and up a little before securing it with lots of grips. Smooth the top down before you secure with hair spray. Backbrush the rest of the roots a little and tease the hair so that it looks a little messy – sleek and smooth won’t do for this look. Finish off with a spritz more hairspray.


Dark and Blunt

Experiment with a style that can work all year round, but that can be enhanced for halloween too. If you’re planning on keeping things simple this halloween, going for a dark lip or eye to give a subtle nod towards the season, why not try a complimentary hairstyle?

A fringe is a great way to update your look without having to change your style too dramatically. Perfect for halloween but versatile for A/W ‘17, why not have a blunt fringe cut and a dark colour update. For halloween parties style sleek and apply a deep plum lipstick. Finish off the look with a black dress and a smokey eye.

Day of the Dead

The Day of the Dead look offers the prefect style to get really creative with your hair. Typically all about the make-up, why not be bold with your hair too. If you have blonde hair try experimenting with temporary colourful dyes, such as pastel pink, purple, mint green and baby blue. Try a colourful ombre in true Mexican style and finish off with a floral garland wrapping around the hair.

For a more traditional Day of the Dead look and if you have dark hair, try a pretty up-do by plaiting the hair and securing it to the head, adding flowers to complete this spooky yet famine look.

0 0 Continue Reading →