Skip to Content

Blog Archives

How to get Heatless Curls

Few of us are blessed with naturally perfect curls. For some curls are unruly and for others the hair is naturally straight or frizzy. Curls is the most sought after hairstyle, but regularly curling your hair using wands, tongs or straighteners will cause heat damage that could result in split ends, breakage, dry and unmanageable hair. If you prefer to wear your hair curly, but want to avoid using heat every day, how can you achieve fantastic curls without heat styling? Read on to find out…

  1. Lazy Curls

For those who want heatless curls without a lot of fuss, this is perfect for you. Start by tying the hair back into a high ponytail, then take a section of the ponytail that’s about an inch wide and spray with water until damp. Wrap this section around two fingers, starting at the ends of the hair and ending at the top of the ponytail, then slide your fingers out and clip the curl to your head to secure. Take a second section, but this time use one finger to wrap around before pinning the curl. Work your way through your pony tail, alternating from one finger curls to two finger curls.

When you’ve done all your hair, spritz it with hairspray, then leave to dry. It should take around 30 minutes to an hour to dry, once dry remove the clips and then remove the hair band used to secure the ponytail. Shake your hair out to breakup the curls, then spritz with hairspray to hold.

  1. Wonderful Waves

If you prefer a wavy and natural look instead of a curled look, try this to create heatless waves that will stay put all day. Split your hair into two sections and bring your hair forward over your shoulders. Take the right section to start with, and take a small section of hair (around 1-2inches) from the neck, clip the rest of the hair back and out of the way. Spray the section with water until damp. Wrap the section of around around two fingers from the ends up to the roots. Take your fingers out and continue rolling up and then clip to your head to set. Take another section and do the same thing, keep going until you’ve done the entire left side of your head.

Now repeat on the right side. Once all of your hair has been rolled and clipped up spritz with hairspray. You can do this first thing in the morning and wait for the waves to dry while you do your make-up or have your breakfast, your hair should be dry enough to take down within 30 minutes. Take the waves down and shake them out a little. Take a little hair wax and rub it between your palms and scrunch your waves to help sculpt them and make them last longer.

Heatless curls and waves really are achievable. If you currently curl your hair using heat, try swapping your heated style for heatless at least a few days a week to help the condition of your hair.

0 0 Continue Reading →

Hairstyles for Winter Weddings

Winter weddings can be absolutely beautiful, but they can also be tricky to dress and style yourself for. The weather can be unpredictable, which can make styling hair tricky. Whether you’re a guest or the bride, here are some winter wedding hairstyles that will stay in place no matter the weather…

Half up half down

Something to consider for a winter wedding is the fact that it might be cold. Up-dos are great for a winter wedding as you can worry a little less about the weather, but this leaves your neck exposed to the cold. If you’re worried about feeling cold during the day, try a half up half down look to keep hair neat but your neck warm.

Try curling the length of the hair with a large barrel tong, then tipping the head upside down to shake the curls out to create waves. Back brush the hair a little at the roots and especially around the crown, before sectioning off the hair at the temples. Using your fingers to section off, move your fingers from your temples to the back of your head in an upwards motion, so that you take more hair from the front of the head than the back. Tie with a hairband and plait the hair in the small ponytail that you have created. Wrap the plait around the band on the back of the head and pin so that it sits flat. Finish with a touch of hairspray to hold in place.

Low chignon

Keep your neck warm with an up-do that sits low down with a low chignon. This is a super-chic look and will ensure your hair is kept neat all day. Start by parting your hair in the middle, smoothing it behind your ears and gathering it at the nape of your neck. Begin to twist the hair from the neck right through to the ends, then start to coil it in a counter-clockwise circle. Continue to twist your hair as it starts to form a bun shape, using your index finger to hold it in place as you go.

Secure your hair with large grips in all four corners, for thick or long hair you may need to use more pins. Gently pull at the edges as you go to create your desired shape and pin into place. If you want to create a more romantic bohemian look pull a few strands free in the bun and around your face. Finish with hairspray to hold.

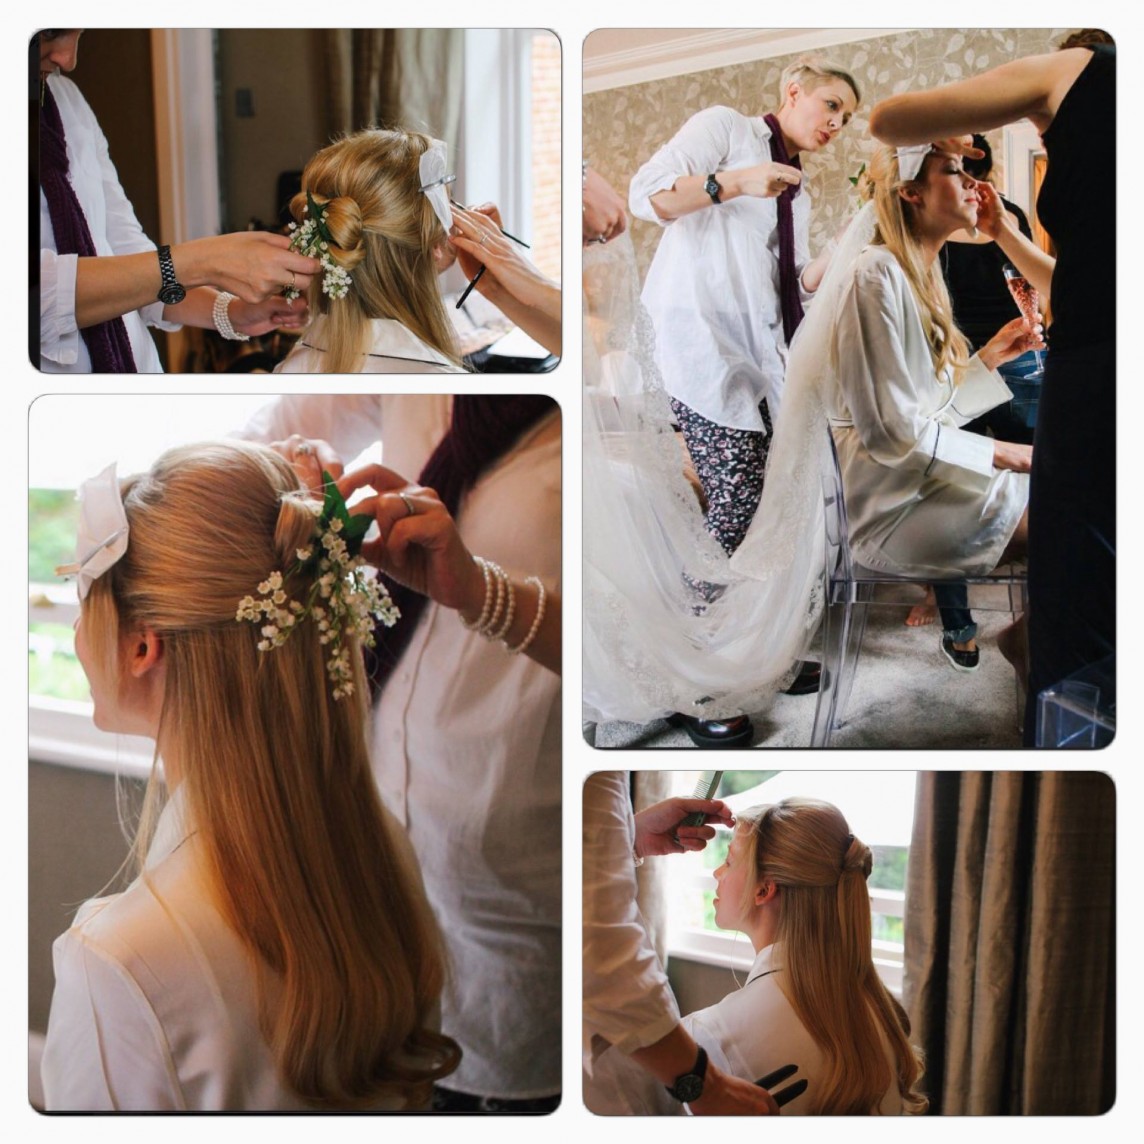
For brides a chignon is easy to accessorize – try adding pearl embellished grips within the bun and through the hair, or add a large embellished clip to one side of the head, ideally positioned just above or behind the ear.

0 0 Continue Reading →

How to get Silky Shiny Hair

One of the most sought after things is silky glossy hair that looks effortlessly healthy and strong. The truth is really shiny hair isn’t just about treatment and styling, it’s also about the health of your hair, your diet and hydration too. Here’s how to achieve silky shiny hair, that looks beautiful but is also strong and healthy too…

  1. Stay hydrated and nourished

Our skin and our hair start to suffer when we are dehydrated, causing both to become dry and dull. If you haven’t over processed your hair with heat styling or dying, yet it looks dry and flat it may be down to hydration. Try and drink 2 litres of water a day to provide your body with the water it needs, you’ll soon start to see an effect on your skin and hair, as well as your energy levels too.

Your diet can also determine how glossy your hair is. Try adding an extra portion of fruit and veg to your daily diet, and take fish oil supplements to give hair a natural boost.

  1. Cold water blast

When you wash your hair, try blasting it with cold water for 30 seconds at the end. The cold water will seal the cuticle making hair look glossier all over. If it’s super shine that you’re after, use a shampoo and conditioner that inject moisture and smooth all over. Try to go for quality brands and avoid using harsh chemicals on your hair as this will only cause it to become dry, which is the opposite of what you are trying to achieve!

  1. Wear it straight

Straight hair looks glossier as it reflects the light better, so if shiny is what you are after go for a straight finish. After washing and blasting with cold water, follow a similar method for drying your hair. Rough dry to start with, then using a paddle brush blow dry straight. Once hair is dry finish off with a three minute blast on the cool setting of your hairdryer to add extra shine.

  1. Use a serum

Serums are a great way to add an extra hit of shine to your hair. Try a 2-in-1 serum that also offers heat protection to avoid split ends from heat styling. Argan oil, coconut oil and other serums that use natural ingredients are the best options when it comes to boosting gloss without applying harsh chemicals to the hair.

  1. Treat regularly

It’s almost impossible to achieve glossy hair if your hair isn’t in good condition, so it’s important to keep on top of things. Try to apply a treatment mask every 1-2 weeks to give your hair a boost of moisture and strength. Opt for all natural at home remedies or invest in masks from quality brands. Once every 3-4 months book in for a trim at the hairdressers to keep split ends at bay.

Just a few simple steps can ensure your hair is strong, glossy and healthy, with a natural shine that is boosted with a few key products.

0 0 Continue Reading →

The Full Guide to Creating a Healthy Hair Routine

Healthy and strong hair does take a little maintenance, and there are many ways in which we might be damaging our hair without even realising. Having hair that is healthy both inside and out isn’t rocket science, all it takes is a few steps to ensure your hair is protected and nourished from root to tip.

Read on to discover the full guide to creating a routine for strong and healthy hair…

A regular trim…

One of the most important aspects to creating and maintaining healthy hair is to have it trimmed regularly. With upmost care you will suffer less in the way of split ends and dryness, but no matter how carefully you look after your hair you will find a trim is still necessary every three to six months to keep on top of split ends. If split ends are left they can continue up the hair shaft, making the hair prone to breakage, frizz and generally unruly. Keep on top of split ends by having regular trims, to avoid having to have inches and inches cut off due to split ends spreading up the hair.

Deep cleanse…

The oils in which our scalp generates are good for the hair, so washing it too often and stripping your hair of its natural oils isn’t actually good for the hair. Regular brushing will help distribute your hairs natural oils throughout the hair to help condition and hydrate. Aim to wash your hair two to three times a week and use a shampoo that is paraben free.

Condition…

Follow your shampoo with a hydrating conditioner. If your hair is thin avoid heavy conditioners that might weigh it down, instead opt for a nourishing but light conditioner. For thicker unruly hair try a taming and smoothing conditioner. When it comes to conditioner splash out a little and invest in something rich and free from harsh chemicals. Apply conditioner to damp hair for best results.

Treat…

It is important to understand your hair’s unique needs and treat it to help it be as healthy and strong as possible. For example if your hair is naturally dry and coarse try an intense mask once a week to help soften and smooth. For hair that’s naturally frizzy try an argan oil or similar to add moisture and tame. For those that heat style their hair always use a heat protector before drying and styling.

Getting to know your hair is important, but all hair types will need a regular trim as well as hydration. Work out a routine that works for you, and once you find the right routine and products, stick with it for strong and healthy hair for years to come.

0 0 Continue Reading →

Three Tips for Lasting Curls

You might be familiar with this scenario – you’ve freshly washed your hair, blowdried it and curled it using a heated styling tool, or carefully placed rollers in each and every section, shaken out your curls, perfected the last few stands, added hairspray to hold, gone out…and an hour later your hair is flat and lifeless. This is a common issue when it comes to curling hair that isn’t naturally curly, and many of us find an hour of hair prep is wasted moments after stepping out the door.

It is possible to make your curls last though, by just taking a few careful steps you can make your curls last all day or all night long. Here’s how…

Prep is key

The first place where you might be going wrong when it comes to getting your curls to hold is not preparing the hair properly. We often think hairspray after curling will do the job, but the reality is your hair probably needs all the help it can get to hold your curls. While hair is damp, apply a volumising and holding mousse to add texture to the hair and give it better staying power.

Let the curls cool

Rollers are great for adding curls as they allow the hair to cool before you let the curl down. If you are using rollers give yourself lots of time to ensure the hair is properly cooled before you take them out. If you are using a curling iron or similar try pinning your curls to your head as you let them out of your iron, and allow them to cool down in a curled position before you take them down.

Choose the right barrel size

The most popular curls are big and bouncy, but actually big barrels often cause the curl to drop out faster. If you’re using a curling iron choose a smaller barrel. Initially your curls might look a bit cork-screw, but let them sit for a moment and shake them out to create a more natural and bigger curl.

Finish off

While you might have followed all the necessary steps to get your curls to stay, they still might need an extra helping hand in the form of a spritz of hairspray. Choose a spray that is light, but also offers ultimate staying power. Tip your head upside down to make sure that you get all of the stands and to boost volume and spray generously.

Healthy hair matters

One reason why your hair might not hold a curl is because it is too dry. To create beautiful bouncing curls the hair needs to be in good condition. If you find even with the steps above your hair still isn’t holding a curl properly, it might be time for a trim. The quality of your hair is key to long lasting curls, so you might have to sacrifice an inch or two in order to get the curls you want.

0 0 Continue Reading →

Winter Haircare Tips: For Healthy Hair

The winter weather can be harsh on our hair, but many of us don’t alter our haircare routine to reflect this. Just a few small changes to the products that you use and the way that you care for your hair can ensure that your hair stays healthy and strong during the winter months.

Read on to discover our top winter haircare tips…

  1. Be aware of how the weather effects your hair

We are all different, and our hair is just the same, but there is one way in which the winter can damage all hair types – through artificial heating. During the winter both our hair and our skin have to adjust to big temperature changes, from being outside in the cold, to coming indoors to the warm – doing this repeatedly will dry your hair out, causing frizz and breakage.

  1. Take action

So now you know what winter weather can do to your hair, you can take action against heat damage. By adjusting your haircare routine a little you can ensure that your hair stays strong and glossy throughout winter, and will still be healthy come spring, so that you can avoid having to have a big chop or a complete restyle.

  1. Nourish, nourish, nourish

Looking after your hair in winter is all about providing nourishment. If you don’t already, for the winter choose a hydrating shampoo and a nourishing conditioner. When it comes to conditioner choose something free from harsh chemicals as this will only dry your hair out further, instead opt for a product that is full of hair loving ingredients, and is designed to nourish and hydrate your hair from root to tip. If you suffer from oily hair avoid using heavy conditioners at the roots, instead focus on the length of your hair as this is where the strands will need the most help.

Add a serum to your routine too, that offers protection from heat styling and the weather, as well as adding shine and working to nourish your hair further. Apply serums to damp hair before blowdrying to protect the hair from heat styling, unless your product states otherwise.

Just a few small changes for the season ahead can ensure your hair stays healthy and strong throughout winter, meaning you can experiment with fun party-season looks, and have healthy hair right through to spring.

0 0 Continue Reading →