Skip to Content

Blog Archives

The Full Guide to: Managing Fine Hair

Fine hair can be difficult to manage. For many with fine hair, the end goal is to create thicker looking locks. While your hair cut and style can greatly improve how thick your hair looks, there are a few other ways in which you can manage your fine hair…

Wash Your Hair Frequently

People with thick hair can get away with washing their hair less frequently. If you have fine hair, you’ll find that after a few days in between washing your hair starts to look limp and flat. Aim to wash your hair every other day, to allow your hair to benefit from the natural oils that your scalp produces, but to avoid it becoming greasy.

When you do wash your hair, don’t use conditioner on your roots – this will weigh your roots down and cause your hair to become greasy faster.

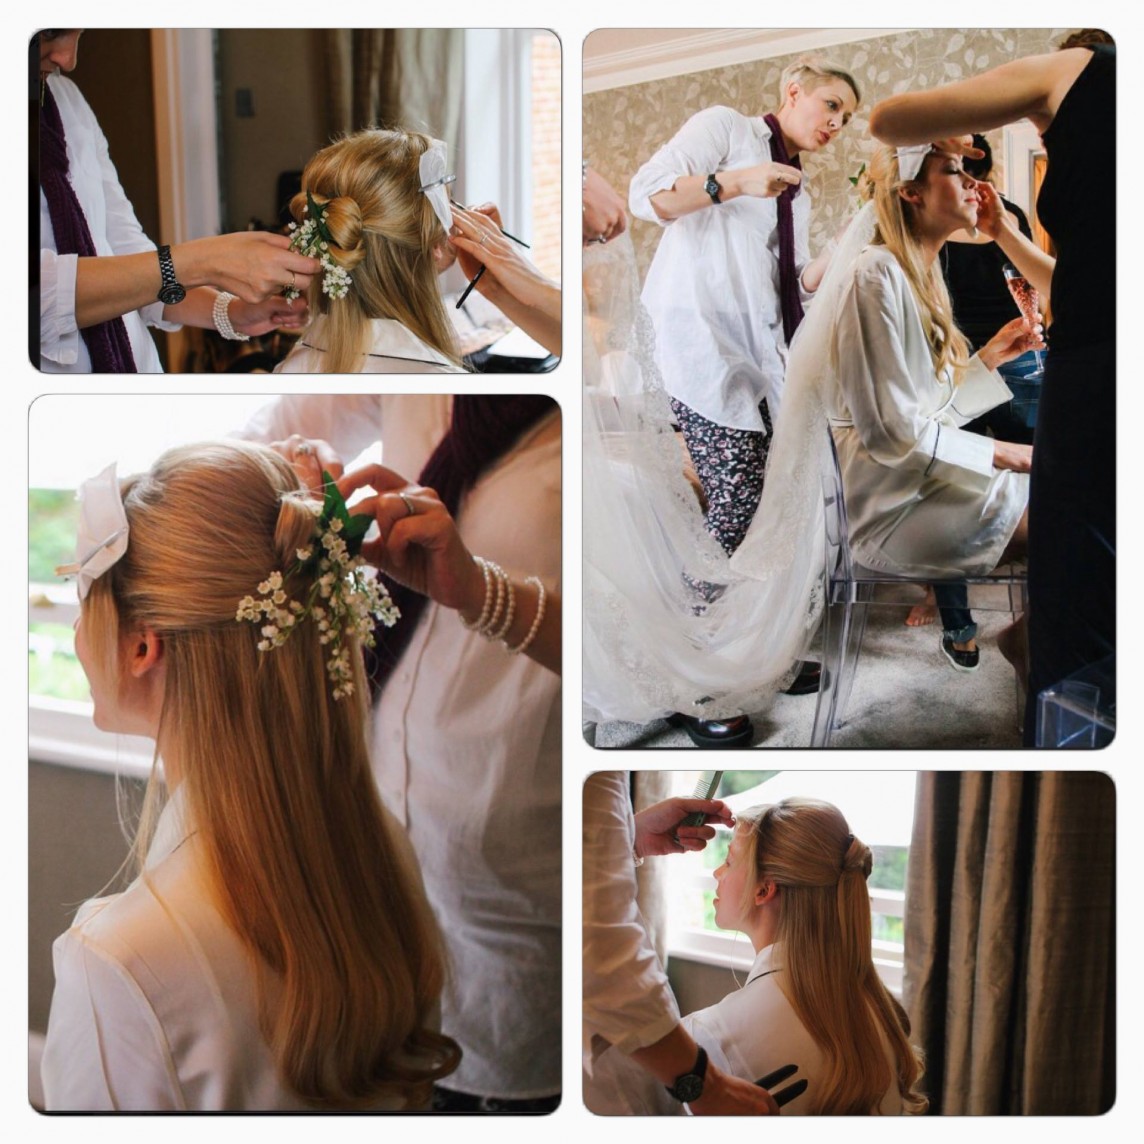
Blow Dry Your Hair Upside Down

With fine hair it’s all about trying to increase the body to create thicker looking locks. Your blow dry is key to this. Try using a thickness boosting cream or similar, and dry your hair upside down to get lots of volume in at the roots.

Avoid using a lot of product though as this will weigh your hair down. Use a light conditioner and no more additional product than the size of a 50p when it’s in your hand.

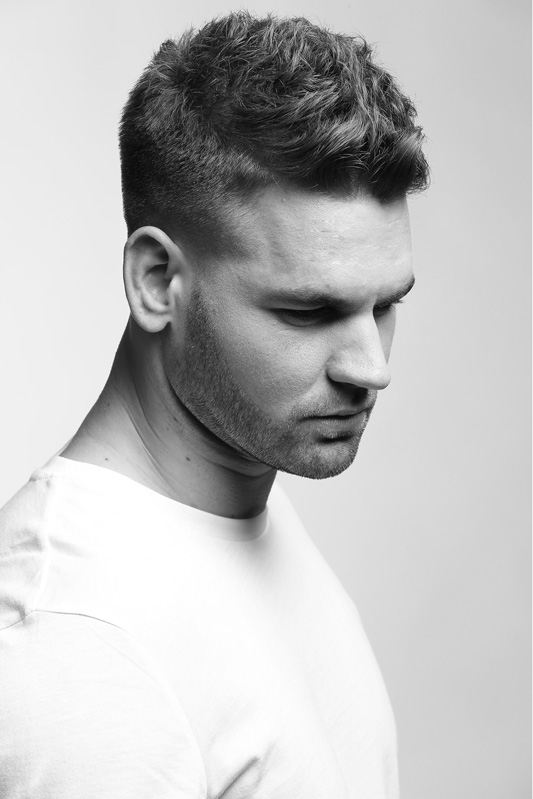
Invest in a Flattering Cut

Your hair cut plays a huge role in how thick or fine your hair looks. Get the cut wrong and you could be stuck with hair that looks even thinner for months. Before you settle on a style or go for the chop, book a consultation to discus your options with a professional. Let them know that you’re keen to get your hair looking thicker and discus the various options available. A good hair dresser will be able to make the most of your fine hair.

Fine hair can be frustrating, but when you know how to manage it you will feel far more confident in how it looks and how it makes you feel. Just a few simple tricks can make your hair appear thicker, which is generally more flattering and easy to manage.

0 0 Continue Reading →

5 Bridal Hairstyles for 2018

Whether your on the hunt for the perfect hairstyle for your big day, or you’re looking for a style that will suit all of your bridesmaids, 2018 had provided some stunning new bridal hair trends.

Read on to discover five bridal hairstyles for 2018…

  1. Textured Low Updo

This is a 21st century update on the bridal updo. It’s unfussy, pretty and feminine, and will stay in place all day.  Think of a stylish combination of loose french braids and a simple chignon. At the front and the roots create soft and pretty volume, and soften the style by teasing a few strands of hair our around the face. Leave the look simple, or finish it with a vintage jeweled slide.

  1. The Undone Bun

The bun is still one of the most popular bridal styles, but it also works brilliant for bridesmaids too. Think soft and feminine, rather than neat and tight. Try a chignon at the base of the neck. The hair should be swept back from the forehead and twisted to create volume. This is the perfect whimsical updo – just finish by teasing a few pieces of hair out around the face and out of the chignon for a soft finish.

  1. Plaited Waves

When you have long hair, you want to show off your locks. Consider wearing your hair down for your big day, adding a fairytale finish with tiny braids. To create the look, part the hair in the middle and wear wavy and soft. Add a few small but lose plaits through out the hair. Try adding a few under the bulk or your hair, and a few on top to. This look shouldn’t look too styled or uniform.

  1. The Low Pony

This look is perfect for brides who prefer a sleeker but low maintenance look. Leave the length of the hair soft and a little fluffy, rather than smoothing it down. This can be achieved by adding soft waves to the hair. Sweep the hair back at the crown and keep the hair on the head smooth. Secure into a ponytail at the base of the neck, and wrap a strand of hair around to hide where you are secured the ponytail for a natural finish.

  1. The New Half Updo

Rather than opting to put up all of the top half of the hair, consider this softer approach. Take the hair on one side, starting about an inch back from the face. Split into two sections, leaving the bottom half of the hair free. Then twist or plait the upper section towards the back of the head, securing in the centre of the back of the head with pins. Wear the hair wavy and natural, and ensure the hair at the back covers the pins so that the braid naturally merges with the rest of the hair.

This year it’s all about romantic, soft and feminine bridal hair. Try a whimsical style, or opt for a sleeker version to suit your own unique style.

0 0 Continue Reading →

Top 5 Beard Styles for 2018

Just like hairstyle trends, men’s beard trends change each season too. With new styles seen on the catwalks and in campaigns, and timeless classics coming back into fashion, there’s always new facial hair looks to try for the season ahead. Read on to discover the top five beard styles for 2017…

  1. The Uniform Beard

This beard looks exactly how it sounds – it’s uniform in length and in width, from top to bottom. This is a neat beard look, so idea for anyone who needs to look professional for work, yet stylish and very on trend.

To grow: This beard looks best when it extends about two inches from the chin, it’s best kept quite short. The good news is this look shouldn’t take too long to grow. The mustache should blend in with the beard, with the same hair length through out the beard and the mustache for a neater look. This beard will need regular trims and shaping.

This beard is perfect for those with square, oval and round face shapes.

  1. Razors Edge

This beard shape has been popular for some time now. The longer look appears a little more rugged and unruly, but the sharp shape gives the impression of a well groomed gentleman.

To grow: This beard is long, so may take some time to perfect. The sideburns should be faded into the beard, and the sides of the beard should be neat for a sharp overall look. To finish this look off, grow your mustache out a little and shape the edges upwards.

This beard is perfect for all face shapes.

  1. Short and Tapered

The shorter beard style really makes an impact when done right.

To grow: To nail this look your hairstyle counts too, and should be short and cut into defined lines. Your sideburns should be almost invisible, until they fade into the beard at your cheeks. Trim your beard so that it sits just under the chin and shape it to have a rounded point. Your mustache should be kept a similar length and neat.

This beard is great for oval and round face shapes.

  1. Thin Beard

This is more of a stubbled look which has been popular for decades and is always flattering.

To grow: This doesn’t take long, but you do need a bit of length to start with to shape everything neatly. Your stubble only needs to be a few cm long, but everything should be shaped very neatly, with the edges sharply defined with a slight curve.

This look is perfect for oval and square face shapes.

  1. All About the Mustache

This year the focus is on beards, but that doesn’t mean that the mustache has been forgotten about. Standalone mustaches are less popular this year, so team an extravagant mustache with a short beard.

To grow: Keep your beard at jaw length and let your sideburns grow into it, this is a short beard that is well filled out. The beard should be shaped to the natural shape of your chin. Let your mustache grow into a U shape and tease upwards a little at the ends.

This look works well for oval and square face shapes.

0 0 Continue Reading →

The Hairbrush Guide 101: Everything you Need to Know

Selecting the right hairbrush for you may not seem like a big deal, or something that requires too much thought, but the truth is selecting the right hairbrush for your hair is key to the health of your hair. There are many options available on the market, and in some cases it is necessary to own more than one hairbrush, but how to you know which style is right for you and when each brush can be used?

Read on to discover the full guide to hairbrushes, so that you can make the right decision for you…

The Oval Cushion

This is an everyday brush that many of us already own, but it’s possible you could be using your brush wrong. The oval cushion is ideal for detangling dry hair, teasing and adding shine, but shouldn’t be used on wet hair as the bristles often aren’t strong enough and can snag at wet hair. If you have fine to medium hair and you don’t mind having to buy a different brush for your hair when it is wet, the oval brush is a great option.

The Round Wooden

This round barreled brush is perfect for styling and blowdrying, but not idea for everyday brushing. If you regularly blow dry your hair and style as you go then this brush is a must to help you add shape and body.

The Round Ceramic

If you’re a slave to the straighteners then this brush is an essential as it can help you smooth, detangle and guide the hair as you style. This brush to to be avoided by those who have fragile or very fine hair as it can snag on thiner hair types.

The Flat Paddle

This is probably one of the most popular brushes, and it is a great all rounder. It’s best for detangling wet hair, but can be used on dry hair too. Try to avoid styles that have ball tips as these will often fall off quickly once you start using the brush. Instead invest in a more expensive brand with sturdy bristles. This brush is also particularly good for thick hair.

The Half Round

Perfect for shorter styles, this brush is ideal for drying fringes and sleek bobs, to follow the curve of the head and shape at the ends. This brush isn’t great for styling long hair though, but can be used to brush long or short hair for general everyday brushing.

Whether you buy one brush or you have several, it is worth investing in a good brand as your brush will be something that you use on a daily basis.

0 0 Continue Reading →

How to get Heatless Curls

Few of us are blessed with naturally perfect curls. For some curls are unruly and for others the hair is naturally straight or frizzy. Curls is the most sought after hairstyle, but regularly curling your hair using wands, tongs or straighteners will cause heat damage that could result in split ends, breakage, dry and unmanageable hair. If you prefer to wear your hair curly, but want to avoid using heat every day, how can you achieve fantastic curls without heat styling? Read on to find out…

  1. Lazy Curls

For those who want heatless curls without a lot of fuss, this is perfect for you. Start by tying the hair back into a high ponytail, then take a section of the ponytail that’s about an inch wide and spray with water until damp. Wrap this section around two fingers, starting at the ends of the hair and ending at the top of the ponytail, then slide your fingers out and clip the curl to your head to secure. Take a second section, but this time use one finger to wrap around before pinning the curl. Work your way through your pony tail, alternating from one finger curls to two finger curls.

When you’ve done all your hair, spritz it with hairspray, then leave to dry. It should take around 30 minutes to an hour to dry, once dry remove the clips and then remove the hair band used to secure the ponytail. Shake your hair out to breakup the curls, then spritz with hairspray to hold.

  1. Wonderful Waves

If you prefer a wavy and natural look instead of a curled look, try this to create heatless waves that will stay put all day. Split your hair into two sections and bring your hair forward over your shoulders. Take the right section to start with, and take a small section of hair (around 1-2inches) from the neck, clip the rest of the hair back and out of the way. Spray the section with water until damp. Wrap the section of around around two fingers from the ends up to the roots. Take your fingers out and continue rolling up and then clip to your head to set. Take another section and do the same thing, keep going until you’ve done the entire left side of your head.

Now repeat on the right side. Once all of your hair has been rolled and clipped up spritz with hairspray. You can do this first thing in the morning and wait for the waves to dry while you do your make-up or have your breakfast, your hair should be dry enough to take down within 30 minutes. Take the waves down and shake them out a little. Take a little hair wax and rub it between your palms and scrunch your waves to help sculpt them and make them last longer.

Heatless curls and waves really are achievable. If you currently curl your hair using heat, try swapping your heated style for heatless at least a few days a week to help the condition of your hair.

0 0 Continue Reading →

Hairstyles for Winter Weddings

Winter weddings can be absolutely beautiful, but they can also be tricky to dress and style yourself for. The weather can be unpredictable, which can make styling hair tricky. Whether you’re a guest or the bride, here are some winter wedding hairstyles that will stay in place no matter the weather…

Half up half down

Something to consider for a winter wedding is the fact that it might be cold. Up-dos are great for a winter wedding as you can worry a little less about the weather, but this leaves your neck exposed to the cold. If you’re worried about feeling cold during the day, try a half up half down look to keep hair neat but your neck warm.

Try curling the length of the hair with a large barrel tong, then tipping the head upside down to shake the curls out to create waves. Back brush the hair a little at the roots and especially around the crown, before sectioning off the hair at the temples. Using your fingers to section off, move your fingers from your temples to the back of your head in an upwards motion, so that you take more hair from the front of the head than the back. Tie with a hairband and plait the hair in the small ponytail that you have created. Wrap the plait around the band on the back of the head and pin so that it sits flat. Finish with a touch of hairspray to hold in place.

Low chignon

Keep your neck warm with an up-do that sits low down with a low chignon. This is a super-chic look and will ensure your hair is kept neat all day. Start by parting your hair in the middle, smoothing it behind your ears and gathering it at the nape of your neck. Begin to twist the hair from the neck right through to the ends, then start to coil it in a counter-clockwise circle. Continue to twist your hair as it starts to form a bun shape, using your index finger to hold it in place as you go.

Secure your hair with large grips in all four corners, for thick or long hair you may need to use more pins. Gently pull at the edges as you go to create your desired shape and pin into place. If you want to create a more romantic bohemian look pull a few strands free in the bun and around your face. Finish with hairspray to hold.

For brides a chignon is easy to accessorize – try adding pearl embellished grips within the bun and through the hair, or add a large embellished clip to one side of the head, ideally positioned just above or behind the ear.

0 0 Continue Reading →

5 Things to Know Before Going to the Hair Salon

A trip to the hairdressers might seem like a pretty average thing that you’ve done many times before, but there are a few things to consider to ensure you get the most out of your visit. Whether you’re going for a cut, a colour or you need some advice regarding styling or the condition of your hear, here are five things to consider before your trip to the hair salon…

  1. Know your shape and style

What many of us don’t realise is that your face shape and hair type dramatically effect which cuts and styles will suit you. Once you know your face shape you will then know the styles that will suit you. While many hairdressers are trained in understanding how a cut can flatter the face, it is also their job to deliver the style the client is after, and so understanding what suits you yourself will help you ensure you never end up with a flattering cut.

To determine your face shape stand in front of the mirror and look at your jawline. From this you will be able to determine whether your face is oval, circle, square or heart shaped. You can then look up the different styles that will suit you, and go armed with this knowledge to the hairdressers.

  1. Consider your lifestyle

When you are thinking about a new cut or colour, have a think about your current lifestyle, and whether you’d be able to take on a cut that needs more maintenance and care. It’s always worth having a think about this before hand, and having a conversation with your hairdresser about what you can and can’t manage.

  1. Book a consultation

If you’re trying a new style or colour it is always worth booking a consultation to discus your ideas with a professional before taking the plunge. This will mean that if the look you wanted to go for isn’t realistic or achievable you will have time to think about your hairdressers suggestions, rather than having to make a decision then and there at your appointment.

  1. Aim to be as truthful as possible

It can be easy to get swept up in ideas and just go along with what your hairdresser is saying, but that can result in you having a cut or colour that you didn’t actually really want. Before you go to the hairdressers, think about your limits. It is possible that the look you wanted might not be achievable, and so your hairdresser may recommend some alternatives. Think about what would be acceptable and what you would want to avoid before hand, so that you can be honest about any suggestions you don’t think will work for you.

  1. Have realistic expectations

This is where knowing your hair type comes in – if you’ve seen a look in a magazine with long straight and glossy looks, when your hair is shoulder length and curly, this might not be a look that will be easy to achieve and keep on top of. Consider your current situation, and the options available to you. If in doubt, as above, book a consultation to discus your ideas and get some professional advice.

0 0 Continue Reading →

How to get Silky Shiny Hair

One of the most sought after things is silky glossy hair that looks effortlessly healthy and strong. The truth is really shiny hair isn’t just about treatment and styling, it’s also about the health of your hair, your diet and hydration too. Here’s how to achieve silky shiny hair, that looks beautiful but is also strong and healthy too…

  1. Stay hydrated and nourished

Our skin and our hair start to suffer when we are dehydrated, causing both to become dry and dull. If you haven’t over processed your hair with heat styling or dying, yet it looks dry and flat it may be down to hydration. Try and drink 2 litres of water a day to provide your body with the water it needs, you’ll soon start to see an effect on your skin and hair, as well as your energy levels too.

Your diet can also determine how glossy your hair is. Try adding an extra portion of fruit and veg to your daily diet, and take fish oil supplements to give hair a natural boost.

  1. Cold water blast

When you wash your hair, try blasting it with cold water for 30 seconds at the end. The cold water will seal the cuticle making hair look glossier all over. If it’s super shine that you’re after, use a shampoo and conditioner that inject moisture and smooth all over. Try to go for quality brands and avoid using harsh chemicals on your hair as this will only cause it to become dry, which is the opposite of what you are trying to achieve!

  1. Wear it straight

Straight hair looks glossier as it reflects the light better, so if shiny is what you are after go for a straight finish. After washing and blasting with cold water, follow a similar method for drying your hair. Rough dry to start with, then using a paddle brush blow dry straight. Once hair is dry finish off with a three minute blast on the cool setting of your hairdryer to add extra shine.

  1. Use a serum

Serums are a great way to add an extra hit of shine to your hair. Try a 2-in-1 serum that also offers heat protection to avoid split ends from heat styling. Argan oil, coconut oil and other serums that use natural ingredients are the best options when it comes to boosting gloss without applying harsh chemicals to the hair.

  1. Treat regularly

It’s almost impossible to achieve glossy hair if your hair isn’t in good condition, so it’s important to keep on top of things. Try to apply a treatment mask every 1-2 weeks to give your hair a boost of moisture and strength. Opt for all natural at home remedies or invest in masks from quality brands. Once every 3-4 months book in for a trim at the hairdressers to keep split ends at bay.

Just a few simple steps can ensure your hair is strong, glossy and healthy, with a natural shine that is boosted with a few key products.

0 0 Continue Reading →

Dry Hair Remedies

Dry hair can be extremely difficult to manage, making it hard to style and generally unruly. Some of us may find we have naturally dry hair, whereas others may end up with dryness as a result of over styling or over exposure to the sun. Dry hair can benefit from a trim to tidy up split ends, but when all of the hair has become dry it will need more than a trim to bring it back to life.

There are some fantastic treatments that can go a long way to softening your dry hair, making it silky and manageable again…

Avocado Mask

There is a variety of ingredients that you might find at home or in the supermarket that can work miracles for your dry hair.  Avocado can provide a lot of benefits to the hair, due to the fact that it is rich in essential fatty acids, vitamins and minerals that will help restore your hair and add shine too. Mash one rip avocado with one egg, ensure it is mixed well and then apply to wet hair. Leave for on for at least 20 minutes, then rinse thoroughly. Try this remedy once a week for damaged hair, or once a month for healthy hair to maintain shine.

Olive Oil Treatment

Just like coconut oil and shea butter, olive oil is great for the hair. Just one treatment can lock moisture back into parched strands and add a healthy shine. Treat hair once ever other week by warming half a cup of olive oil (do not allow to boil), and massaging it into the lengths of the hair. Twist your hair up on top of your head and cover with a shower cap or plastic bag, then cover with a towel to keep all of the heat and moisture in. Leave on for 45 minutes, then shampoo and rinse well.

Professional Treatment

If a makeshift mask isn’t really your thing, try investing in a mask made by a well known brand, or have a professional conditioning treatment at a salon to give your hair the best chance of becoming healthy and strong again.

If you over processed your hair, try the Kerastase Discipline Maskeratine Smooth-in-Motion Masque, which is specifically designed for hair that has been damaged with bleaches and dyes as well as heat styling. The masque delivers a huge shot of moisture to strengthen locks and make hair easier to style and manage.

For really dry hair consider a trip to Soul Hair, to create an action plan to bring your locks back to life. Ways in which a professional might do this is trimming split ends followed by a deeply conditioning treatment, and you may be required to return for regular treatments to get things back on track.

0 0 Continue Reading →

Everyday Hairstyles

It’s no lie that our modern day lifestyles are now busier than ever before, yet we all want to feel and look great as we go about our day. Busier schedules and an increasing list of responsibilities means that we have less time to spend on everyday grooming, but that doesn’t mean you should forget about it all together. The trick is finding a style that works for you that’s easy to do and quick too. Read on to discover everyday hairstyles that you can create in 10 minutes or less…

Bohemian Braid – Time: 10 minutes

A side braid is a great way to create a stylish look and keep your hair neat and out of the way for a busy day ahead. Rather than opting for a basic braid, try this bohemian twist on a classic style for a super-stylish look…

  1. Create a deep side parting on one side of your head, then sweep the hair back a few inches from the forehead to ensure you have lots of volume at the back. Use a comb to backbrush the hair at your crown a little.
  2. Take the front section of your hair on the opposite side to your parting and start to braid, use a french braid method by picking up extra pieces of hair from the back of your head and the front.
  1. Carry on braiding, taking extra sections to add more hair into the plait. When you reach the bottom of your ear use a tie to secure the braid here.
  2. Take the hair on the other side of your head and twist it up and back to create some volume here, pull a little hair out at the front to keep the look soft. Swoop your hair round the back of your neck to join with the plait you secured earlier on the opposite side.
  3. You should now have all of your hair in one hand. Remove the band you used to secure your plait, but keep the plait in place and start to plait in the rest of your hair. Continue to braid your hair until you get to the length you want, then secure with a band. Finish with hairspray to keep in place all day.


Simple Waves – Time – 5 Minutes

This look takes a little prep the night before, but it so easy to style the next day and looks beachy and natural.

  1. The night before after washing your hair, comb it back at the roots so that it doesn’t sit in a parting. Add a little mousse to the roots and the length and plait the hair. Secure with a band and leave over night.
  2. Remove your braid in the morning, tip your head upside down and shake to loosen the waves. Back brush at the crown a little to avoid the hair being flat.
  3. Take a section of hair at the front on either side at your temples, around an inch wide each. Twist the hair and pull it back, securing at the back of the head if it is long enough with a band, or securing at the side of the head using grips. Tease your hair underneath up a little to add volume to the top section.
  4. Finish with a little hairspray to hold.


Hair in ten minutes doesn’t have to mean boring or basic. Try these adding these looks into your everyday style to mix things up a bit.

0 0 Continue Reading →